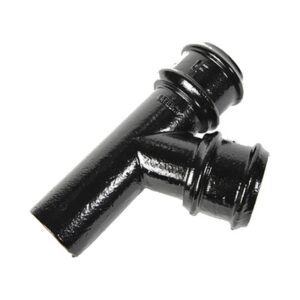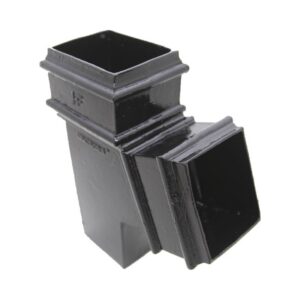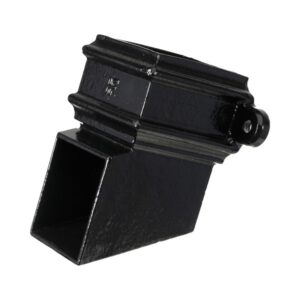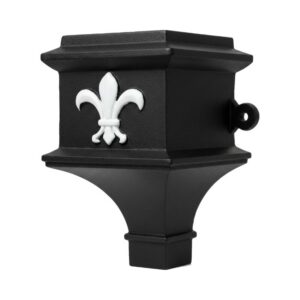
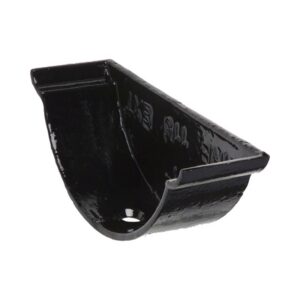
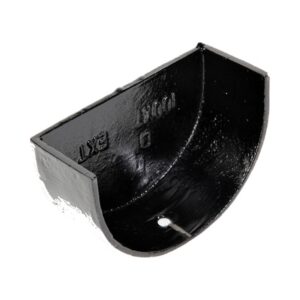
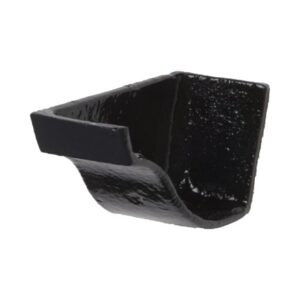
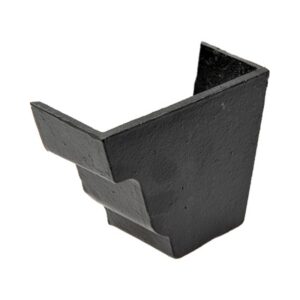
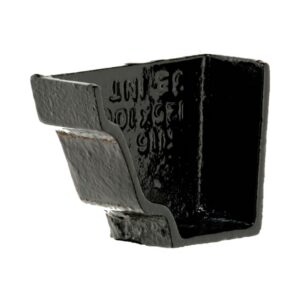
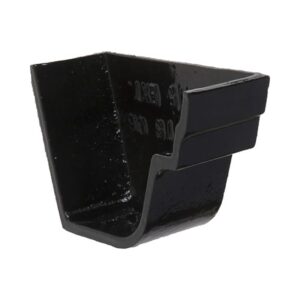
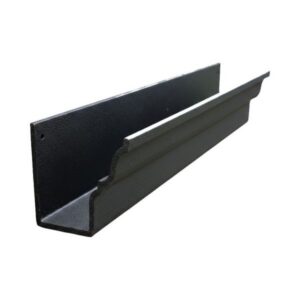
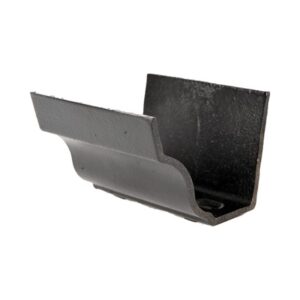

Tuscan Foundry holds a wide range of standard cast iron gutters, downpipes and fittings, with less common items made to order. Where an existing profile can’t be matched from stock, we copy cast from a surviving section, a dimensioned drawing or a photograph. Bespoke and copy-cast work typically takes 12–14 weeks from pattern approval. Patterns are retained, so future reorders are quicker and cheaper.
Cast iron rainwater dimensions have changed very little in over a century, so new sections join original work without adaptors. With routine maintenance, a correctly installed cast iron system can be expected to last well over 100 years.
Every item is available in three finishes:
Inspect items on delivery. Wire brush and spot prime any damage. Then apply two undercoats and one top coat (or one undercoat and two top coats) of a good-quality exterior metal paint. Paint every surface, including the backs of gutters and pipes, before fixing. Those surfaces can’t be reached once installed.
Touch up scuffs, cut ends and drilled holes straight away, along with all bolts, nuts and screws. Sand the area to a key, back to bright metal if rust has started. Clean it, then apply at least two full coats of touch-up paint in the matching colour. Touch-up paint is available to match every finish.
Ask us about our coastal specification before ordering.
LCC soil pipe is supplied with a black bitumen-based coating to BS 416. If you plan to overpaint it, ask us for a compatible system.
Vertical rainwater pipes would not normally be sealed. Only seal joints between gutter outlet and rainwater pipe or offset plus any joints in a horizontal position such as a 90° branch arm or bend. It is recommended that three small wedges made from timber or sheet lead off-cuts are used to centralise the pipe joints and prevent any wind rattle.
The traditional fixing for eared cast iron rainwater pipes is by using large headed pipe nails which we have available in 75mm and 100mm lengths. These are secured in wooden plugs fitted in the brickwork/masonry background. Alternatively non corrosive coach screws or other proprietary fixings may be used.
When fixing on an uneven or unstable surface the recommended method is to secure fixings by means of epoxy resin in pre-drilled holes.
Fixing of uneared pipes can be by holdfast, build in holderbat, earband or screw to wall bracket. These fixings are all available from stock.
Suitable for use on Plain Half Round and Beaded Half Round gutter profiles, this kit is an efficient alternative to traditional jointing methods. The kit contains 10 EPDM rubber seals plus M6 x 25mm bolts, nuts and washers, suitable for 100mm, 115mm, 125mm, and 150mm gutter sizes.

Step 1.
Take the EPDM gasket and push the bolt from the inside of the gutter spigot and then through the gasket.
Step 2.
Line up the gutter and gasket with the socket of the next gutter/fitting and push the bolt through ready to accept the washer and nut.
Step 3.
Check the gasket is square and even between the two gutters and then tighten the nut and washer. Be careful not to over tighten as this may affect the joint or damage the gutter.
Step 4.
Finally use a craft knife to trim off any excess gasket rubber.
Note: When carrying out jointing or installation work on cast iron gutters, always check for any slight damage including paint chips and cut ends and if necessary use the appropriate touch up paint to ensure a complete covering.
The most popular way of jointing cast iron gutters is by using a low modulus silicone sealant or specialist rubberised bitumen gutter mastic.
The sealant should be spread evenly within the gutter socket applying additional sealant around the jointing hole before placing the gutter spigot into the socket and compressing both parts using M6 x 25mm corrosion resistant mushroom head bolts, ensuring the bolt head is on the inside of the gutter.
The washer and nut should be lightly tightened from the underside of the gutter to allow excess sealant to be removed. Do not over tighten as this could result in gutter damage.
Note: If gutters have been cut, remove any loose filings immediately to ensure no discolouration/ rust marks on the paint surface. Also check that cut ends, bolts, nuts and any slight installation damage is made good with the appropriate primer and paint.
Before commencing the installation, inspect all fascia boards to ensure they are in good condition and will adequately support cast iron gutters.

Step 1.
Determine the direction for fitting the gutters beginning with socketed end of the gutter e.g. Notts OG gutters fit left to right and G46 gutters fit right to left
Step 2.
Position the first bracket 150mm from the end of the run
Step 3.
Fix subsequent brackets at 900mm maximum centres using a string line for alignment of brackets and ensuring a slight fall towards outlet positions.
Step 4.
Gutters may be cut with a powered disc cutter or tipped hacksaw.
Step 5.
When cutting gutters, ensure there are no loose filings left on the surface as these will cause discolouration of the paint finish.
Step 6.
All cut ends, bolt heads and damaged paint areas should be retouched immediately.
Whilst it is common practice to fit gutters in fascia brackets, some gutter profiles may be fixed direct to the fascia if required. These include OG and moulded gutters which have three pre-drilled holes per 1.8m (6′) length along the top back edge.
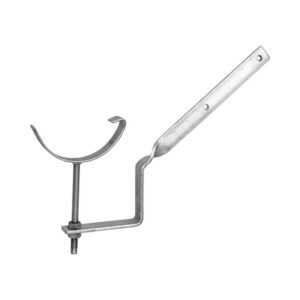
Where building designs incorporate no fascia board, other types of bracket will be required, the most popular being side fixing rafter, top fixing rafter and rise and fall brackets with build in spikes.
These are all readily available in galvanised/zinc plated steel and other designs are obtainable to suit your specific requirements.